Attention of the guide on Using Advanced / Trouble-shooting
Frequently Asked Questions
Which mobile devices can I use?
There are conditions of the smartphones or tablets that can be used to L-eye. Please check.- that there is a front camera(*1) to the mobile device to be used.
- from the center of the front camera, that there is no part(*2) that pops out vertically and horizontally within 5mm is flat.
- The area where the black rubber fixed around the lens comes into close contact with the mobile device.
- from the center of the front camera, that up and down 10mm, 33mm to the left and right within, there is no part that was sticking out of more than 0.5mm in height.
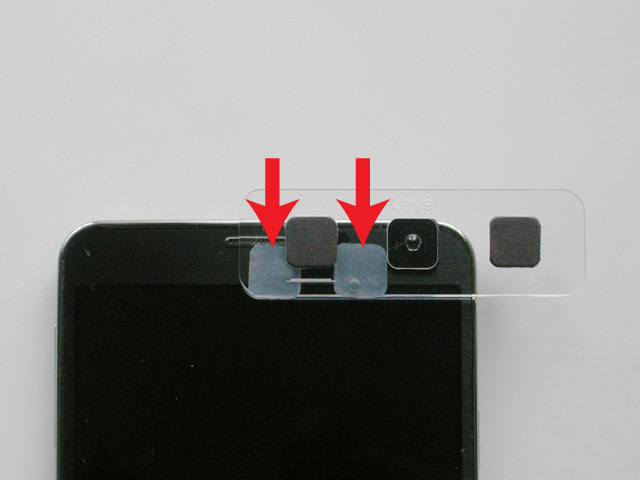
- And fixed translucent rubber can be used by changing the position to match the mobile device.
- The thickness of the fixed rubber is 0.5mm. By using, if the thickness is less than 1mm, the two-ply fixed rubber plus a spare can be used without contacting the part sticking out. Field of view is slightly narrower in this case.
(*2)Frame ear-piece, speaker, camera, the flame of the mobile device, such as case.
Can I use Android?
Ans.: you can used it, but please check because there is a condition.- that there is a front camera(*1) to the mobile device to be used.
- from the center of the front camera, that there is no part(*2) that pops out vertically and horizontally within 5mm is flat.
- The area where the black rubber fixed around the lens comes into close contact with the mobile device.
- from the center of the front camera, that up and down 10mm, 33mm to the left and right within, there is no part that was sticking out of more than 0.5mm in height.
- And fixed translucent rubber can be used by changing the position to match the mobile device.
- The thickness of the fixed rubber is 0.5mm. By using, if the thickness is less than 1mm, the two-ply fixed rubber plus a spare can be used without contacting the part sticking out. Field of view is slightly narrower in this case.
(*2)Frame ear-piece, speaker, camera, the flame of the mobile device, such as case.
PRECAUTIONS
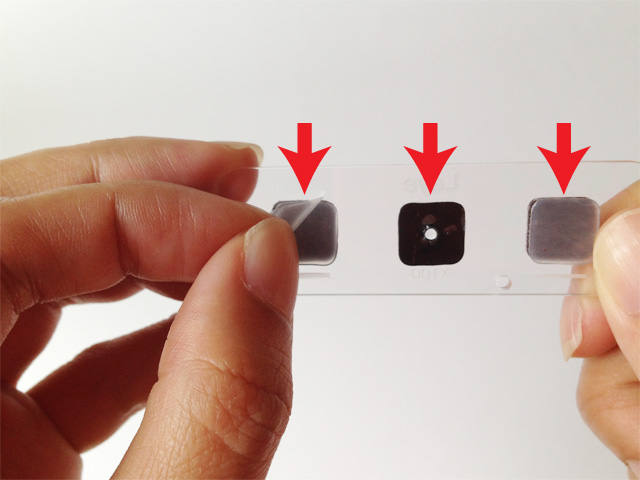
Please use the gadget after you peel off the three protective films that are fixed to the rubber.
It can also be used to fit the mobile device, by changing the position of the fixed rubber, and the two-ply rubber.
Using Advanced
How to use the LED-light for L-eye
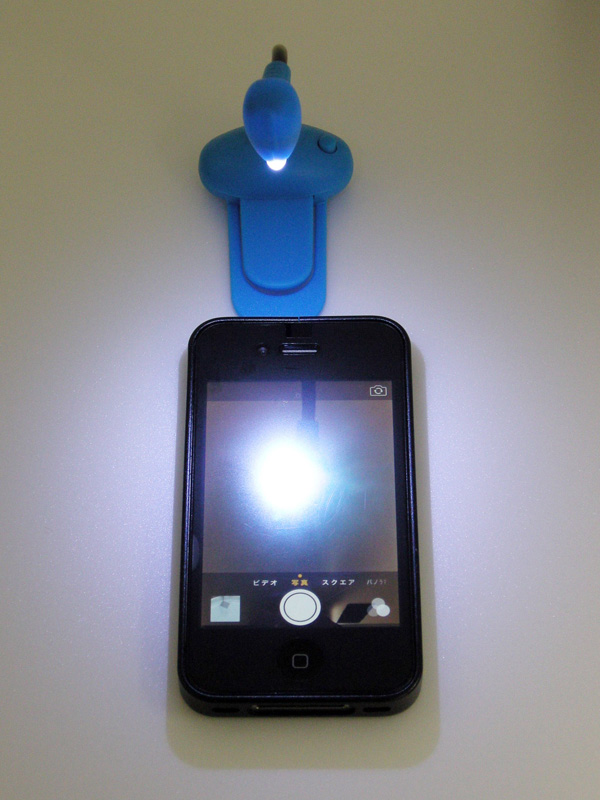
If you are in the environment such as indoors, not having enough brightness, you can use the light.
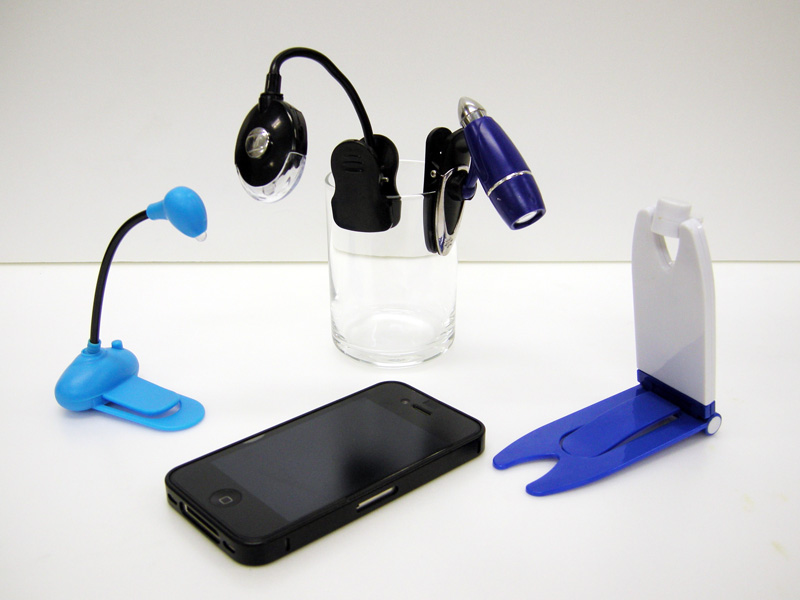
The book light is recommended. Please choose the light bulb that can illuminate the sphere beneath.
The light in the photograph is a reference commodity, it does not come with the product.
How to place the light

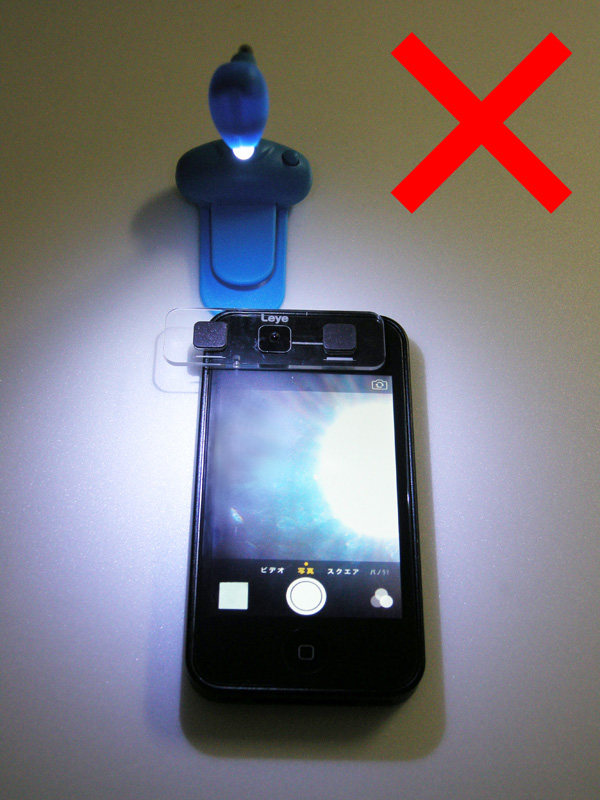
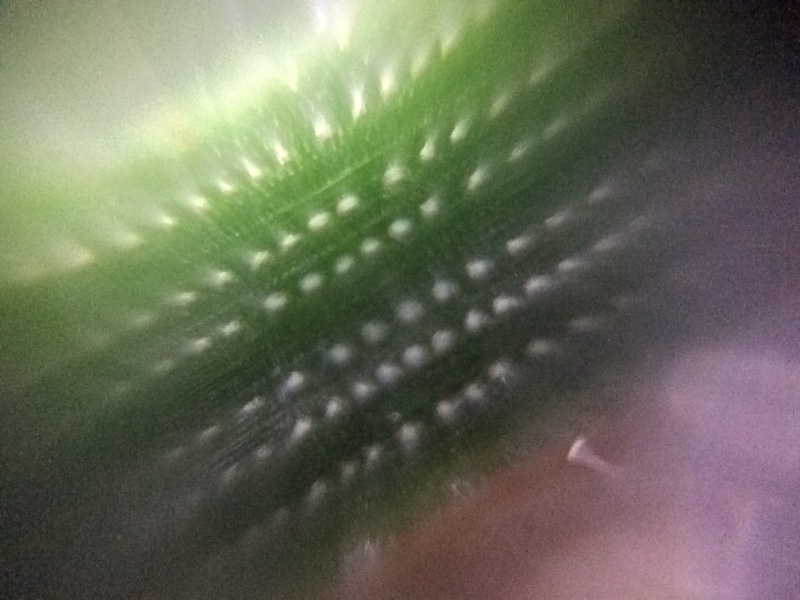
When the sample is permeable
If you are observing a sample that is permeable, the appearance will change depending on the state of the light.
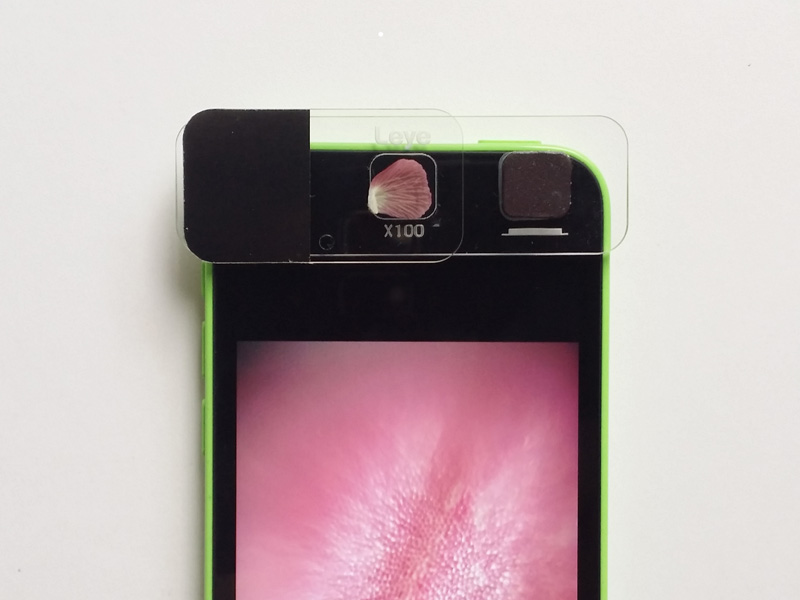
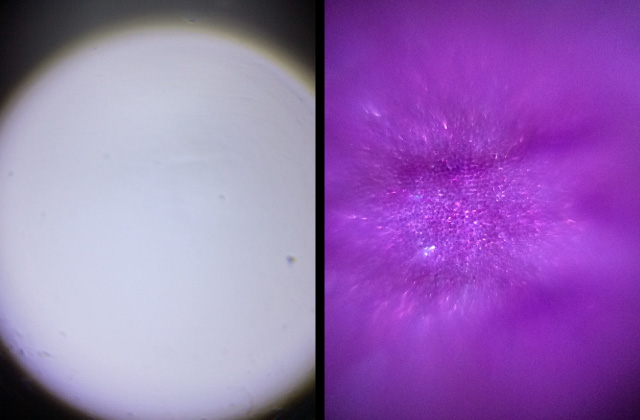
The following images with the L-eye set on the front camera show the differences between with and without to set the sample plate of L-eye.
- Only by using the natural light outdoors or indoors, the sample will look the same as the natural color of the sample.
- If you use the table top spotlight in the room. The sample will become crystal clear. Visible color by the color of the light will change.
- When you use the ceiling lighting in the room, you should place the sample light below the light when you works under multiple lightings. The images will be influenced.
Set up the lighting according to the purposes of the observations.

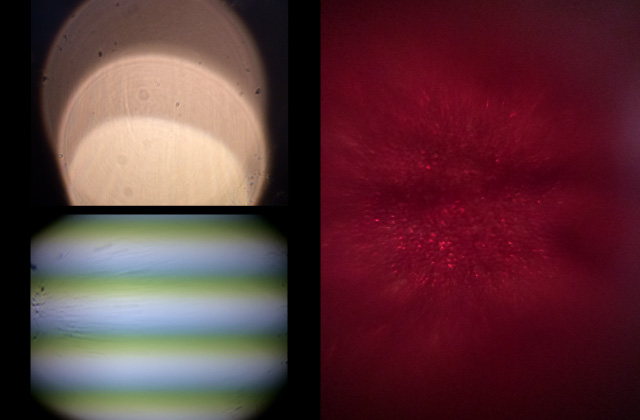
(upper left: multiple spotlights)
(lower left: fluorescent lamp)
Dealing with nontransparent samples

If you want to observe the non-transparent samples, just shine a light from above and will it appear dark.
If you use the tabletop and other spotlight, to shine the light from the side, the sample will be bright.
For permanent preparations
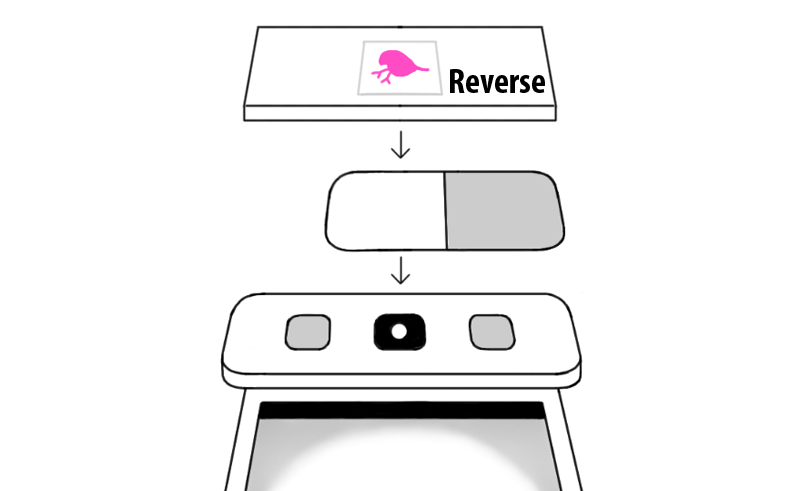
When you observe the permanent preparation, it is used to turn over the permanent preparation. For holding the L-eye sample plate, use a left or right magnet-rubber whichever provides better focus.
Download manuals
 User Guide (PDF format, file size 5.1MB)
- You might need Adobe Reader to view.
- The contents of this manual are subject to change without notice in the specifications and product changes. Therefore, the contents of the manual that can be downloaded in the above, may be different from the product content the customer has purchase.